How to Build the Best Winter Campfire (and Cook Like a Pro)
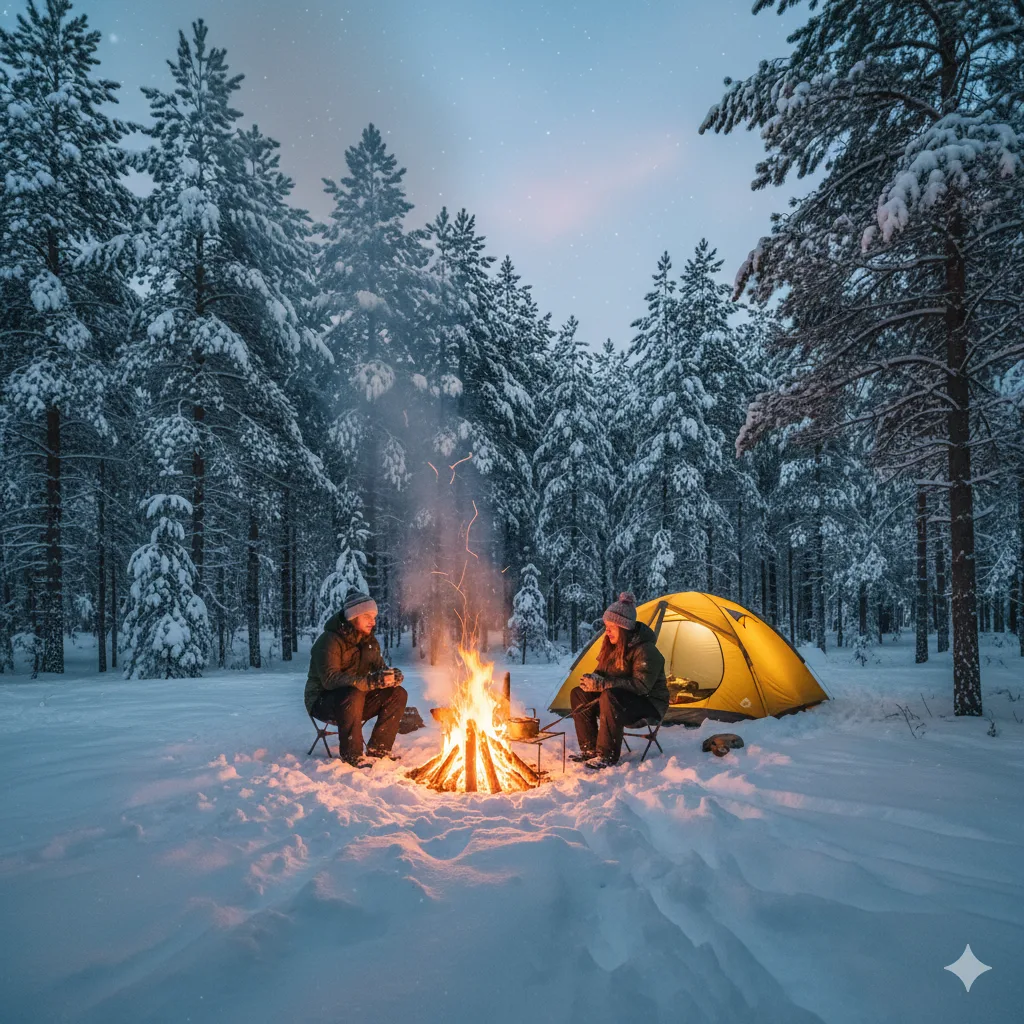
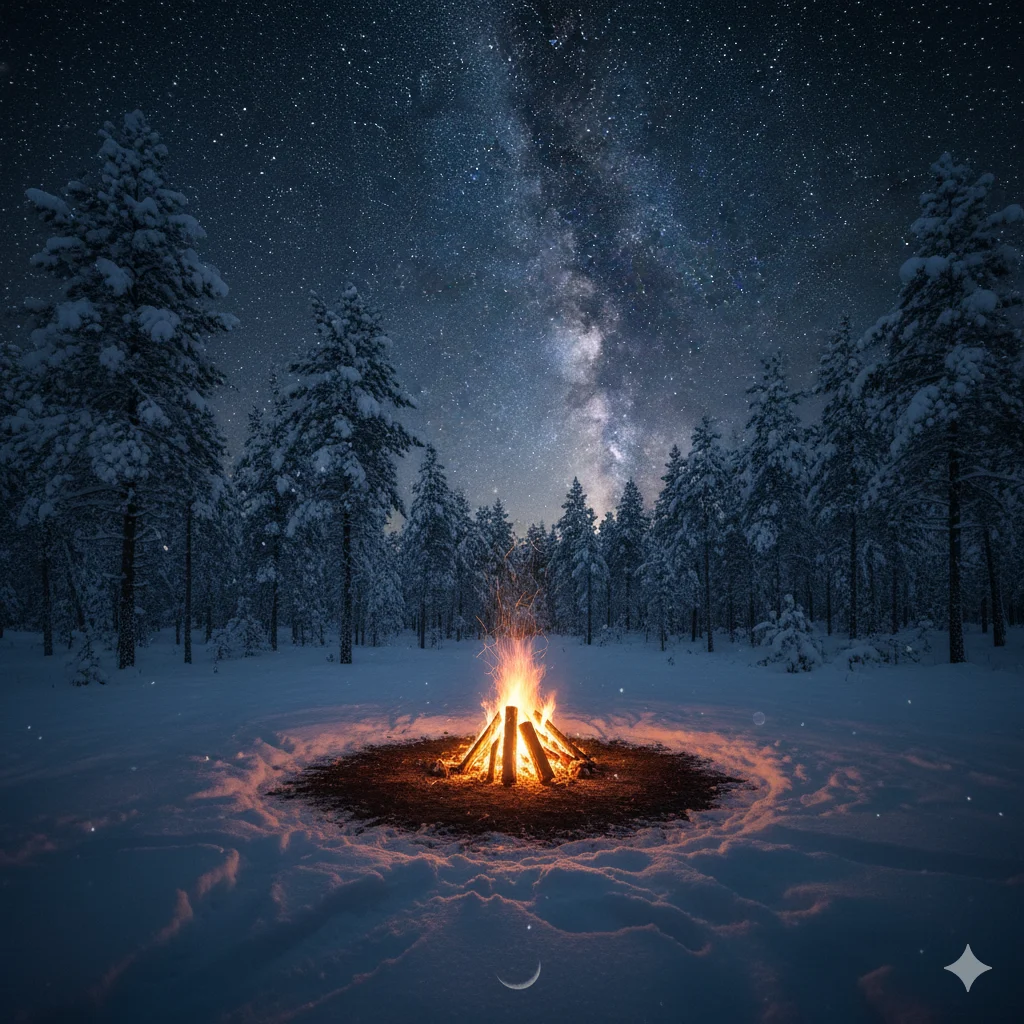
There’s something deeply satisfying about building a winter campfire—the crackle of dry wood, the glow of embers against snow, and the warmth that cuts through the cold air. Whether you’re camping, backpacking, or just enjoying a quiet night outdoors, knowing how to build the best winter campfire is an essential cold-weather skill.
But a true campfire isn’t just about staying warm—it’s also your kitchen, your heater, and your gathering place. In this guide, we’ll cover exactly how to build, maintain, and cook over a winter campfire like a pro—even when the snow is deep and the temperatures drop below freezing.
Why Building a Campfire in Winter Is Different
Winter changes everything. Snow, ice, and damp wood make starting a fire far more challenging than in summer. Air is denser and colder, and moisture soaks even seemingly dry fuel.
Yet, with the right preparation and technique, you can build a roaring, long-lasting fire that burns clean and hot—even on frozen ground. Let’s look at what makes a successful winter campfire work.
1. Choose the Right Fire Location
Location can make or break your winter campfire. Choose a safe, wind-protected spot with good drainage.
Tips:
- Avoid building directly under low tree branches or near flammable brush.
- Look for a natural windbreak, such as a rock wall, boulder, or snowbank.
- If snow is deep, pack it down or dig down to solid ground to prevent melting snow from extinguishing your fire.
If you’re camping in an area with heavy snow, carve a flat platform into the snow using your boots or shovel, then layer it with green logs or large sticks as a fire base. This prevents heat loss and keeps flames alive longer.
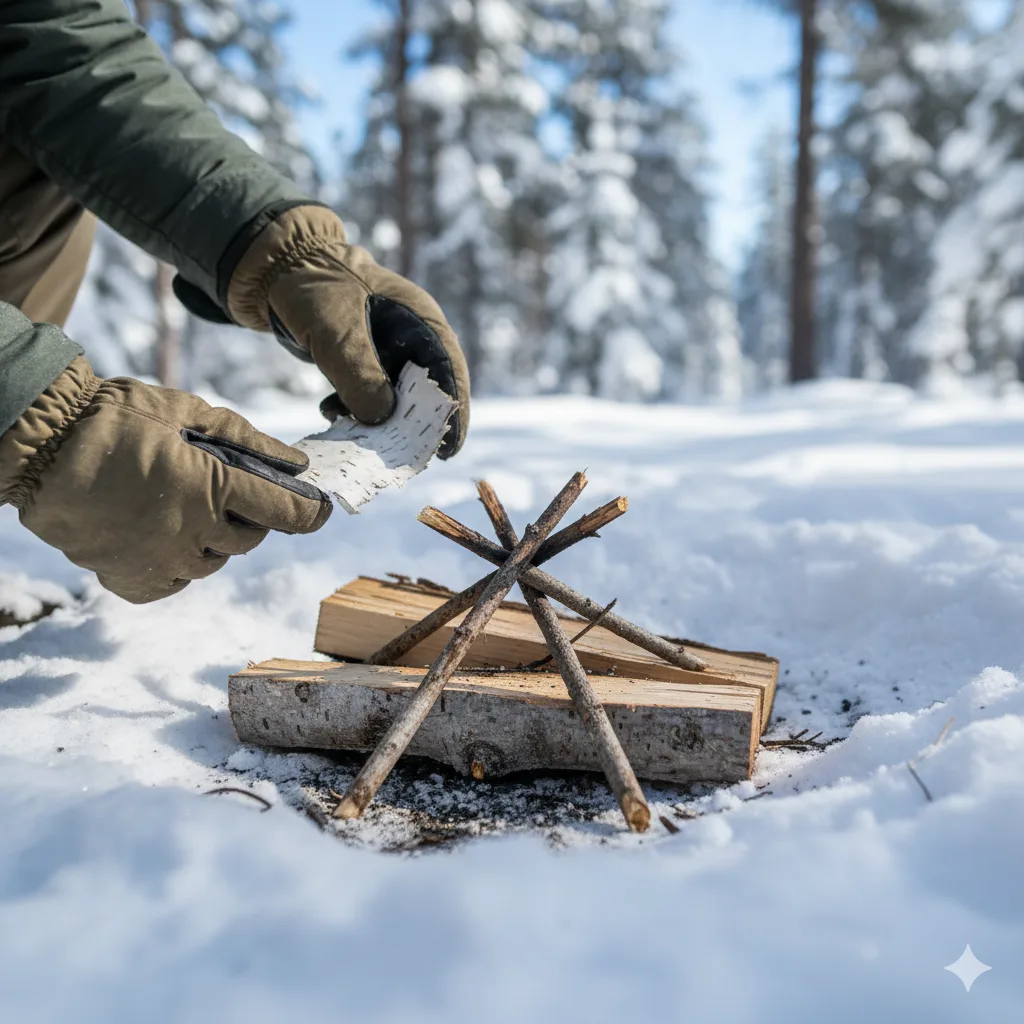
2. Gather and Prepare Firewood Properly
Not all wood burns well in winter. Choose hardwoods like oak, maple, or birch if available—they burn longer and hotter.
Divide your firewood into three categories:
- Tinder: Dry materials that ignite easily—birch bark, wood shavings, cotton balls dipped in petroleum jelly, or dry grass.
- Kindling: Small twigs and branches (pencil-sized).
- Fuel Wood: Logs at least wrist-thick or larger.
Pro Tip: Split larger logs to expose the dry inner wood if outer surfaces are damp or icy.
3. Build a Solid Fire Base
Snow melts quickly under heat, which can drown your fire. The solution is a fire base.
How to build it:
- Lay down a platform of green logs, thick sticks, or large flat stones.
- Add a layer of dry bark or small branches on top.
- Build your tinder and kindling pile above this layer.
This method lifts your fire off the snow, allowing oxygen flow and reducing moisture exposure.
4. Use the Right Fire-Building Method
There are several ways to structure a fire, but in winter, the log cabin and teepee methods work best.
Teepee Fire:
- Arrange small sticks in a cone shape around your tinder.
- Allows for fast ignition and concentrated heat—perfect for starting fires in cold weather.
Log Cabin Fire:
- Build a square frame of logs with tinder and kindling in the center.
- Burns longer and provides a stable platform for cooking.
Start with the teepee structure to ignite the fire quickly, then add a log cabin setup for sustained burning.
5. Start the Fire the Smart Way
Forget the single match trick—cold weather needs consistency.
Effective fire starters include:
- Magnesium fire starter
- Waterproof matches or a butane lighter
- Firestarter cubes or fatwood sticks
- Cotton balls soaked in petroleum jelly
If you’re struggling to light damp wood, hold your flame low and shield it from wind with your body or a metal pot. The key is patience—once the tinder catches, gradually add kindling to build heat before placing larger logs.
6. Maintain a Strong, Long-Burning Fire
A winter campfire needs more fuel and attention.
Keep adding wood slowly to maintain airflow. Avoid smothering the flames.
Tips for efficiency:
- Keep a mix of small and large logs nearby.
- Turn logs occasionally to expose unburned sides.
- Don’t overstack—oxygen is your fire’s best friend.
To reflect heat toward your tent or seating area, build a reflector wall of logs or rocks behind the fire. It makes a noticeable difference in warmth.
7. Cooking Over a Winter Campfire Like a Pro
Once your fire has a bed of glowing coals, it’s cooking time. Coals give steady, even heat—ideal for meals.
Top winter campfire cooking methods:
- Grill grate: Place over a log cabin-style fire for frying or boiling.
- Foil packets: Wrap meat, potatoes, or vegetables in foil and bury near the coals.
- Cast iron skillet or Dutch oven: Perfect for stews, soups, or pancakes.
- Stick roasting: Simple and quick—marshmallows, sausages, or bread on sticks.
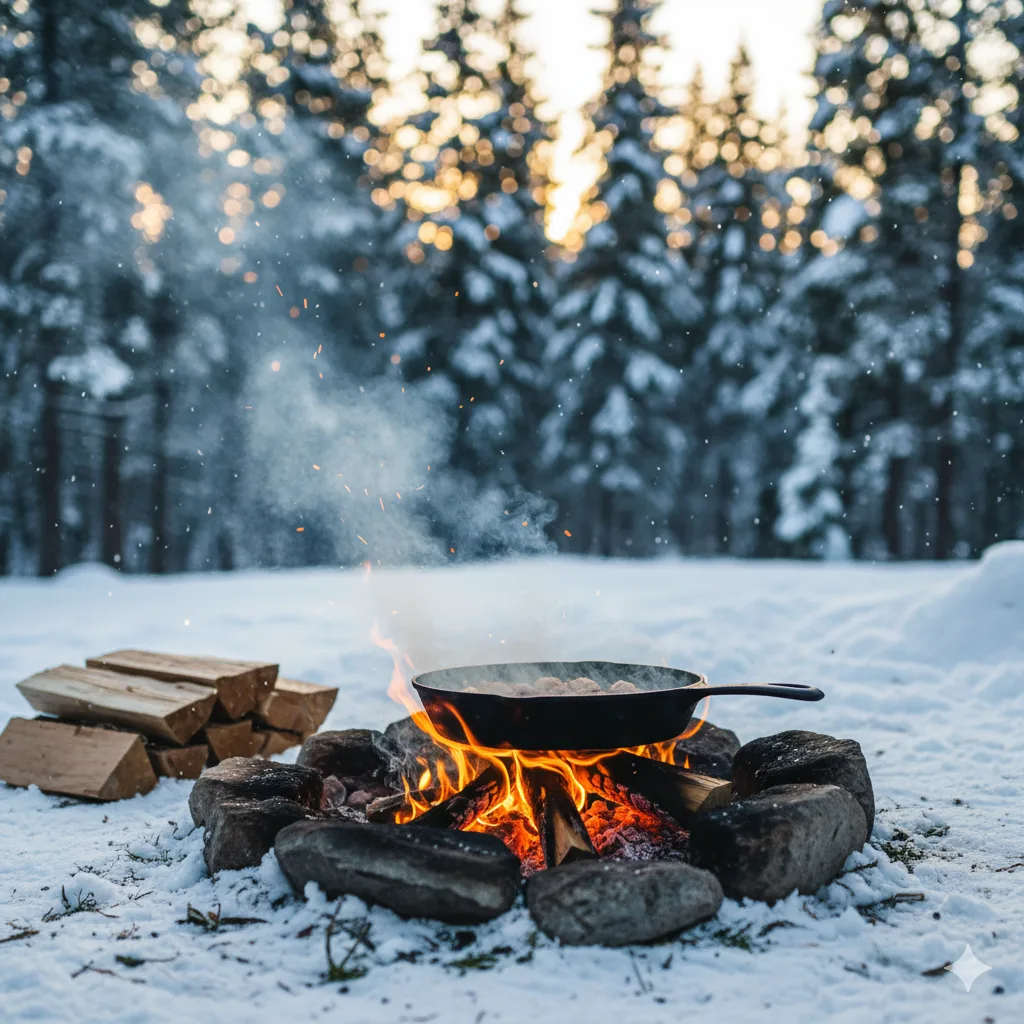
Pro Tip: Avoid cooking over open flames; coals are much more predictable and prevent burning food.
8. Stay Safe While Using Fire in Winter
Fire safety in winter is critical. Snow can hide dry vegetation, and winds can spread embers quickly.
Follow these safety rules:
- Always clear a 10-foot radius around your fire of snow or debris.
- Keep water or snow nearby for quick extinguishing.
- Never leave a fire unattended.
- When done, stir and douse with water or snow until ashes are cool to the touch.
Respecting fire safety ensures nature remains as pristine as when you found it.
9. Extra Gear That Makes Winter Fire-Building Easier
Add these to your cold-weather fire kit:
- Folding shovel (for snow clearing)
- Fireproof gloves
- Portable grill grate
- Ferro rod or waterproof lighter
- Small axe or hatchet for splitting wood
- Compact tarp or windscreen to shield the fire
A little preparation can make the difference between frustration and a perfect, cozy blaze.
10. Common Mistakes to Avoid
- Using green or wet wood—it produces smoke and poor heat.
- Building a fire directly on snow—it melts through quickly.
- Standing downwind of smoke—always set up camp upwind.
- Ignoring spark safety near tents or tarps.
Learn from these mistakes, and your next winter campfire will be stronger, warmer, and longer-lasting.
Final Thoughts
Knowing how to build the best winter campfire is a skill every outdoor enthusiast should master. It’s about more than heat—it’s survival, comfort, and community.
When done right, a winter campfire creates the perfect backdrop for storytelling, warm meals, and a peaceful night beneath the stars. With the right materials, patience, and practice, you can cook like a pro—and enjoy the deep, satisfying warmth only a fire in the snow can offer.