how to drain rv fresh water tank safely: 5 proven steps for every rver
Knowing how to drain RV fresh water tank properly is a basic but essential RV maintenance skill. Whether you are preparing your RV for storage, sanitizing your water system, or simply replacing old water with a fresh supply, draining the tank correctly prevents odors, bacteria buildup, and plumbing issues. When done the right way, this quick process protects your water system and keeps your rig ready for safe travel.
In this guide, you will learn exactly how to drain RV fresh water tank in five proven, easy-to-follow steps. This method works for travel trailers, fifth wheels, motorhomes, and camper vans. You will also learn common mistakes to avoid, safety tips, and answers to frequently asked questions.
1. Why Draining the Fresh Water Tank Matters
Understanding how to drain RV fresh water tank is important for several reasons. Fresh water tanks can collect sediment, bacteria, and stale water if left full or partially filled for long periods. Draining the tank regularly keeps your water system clean and prevents unpleasant smells or contamination.
Draining also helps when:
- Preparing your RV for winter storage
- Sanitizing the water system
- Switching to a new water source
- Reducing weight for towing
- Avoiding algae growth during hot weather
Proper tank drainage ensures safe drinking water and extends the life of your plumbing system.
2. Tools Needed Before You Begin
Draining an RV fresh water tank does not require complex tools. Most RVers already have what they need.
Recommended tools:
- A clean bucket (optional)
- Gloves
- A hose (for faster draining or flushing)
- Flashlight (to locate the drain valve)
If you already know how to drain RV fresh water tank, you may not always need add-ons, but these tools make the job easier and cleaner.
3. How to Drain RV Fresh Water Tank: Step-by-Step Guide
Below are the five proven steps used by RV technicians and experienced RVers. These steps apply to nearly all RV models, although valve locations may vary.
Step 1: Turn Off the Water Pump and Disconnect Water
Before draining, make sure:
- Water pump is OFF
- RV is disconnected from city water
- All faucets are closed
This prevents water from spraying inside when you open the tank.
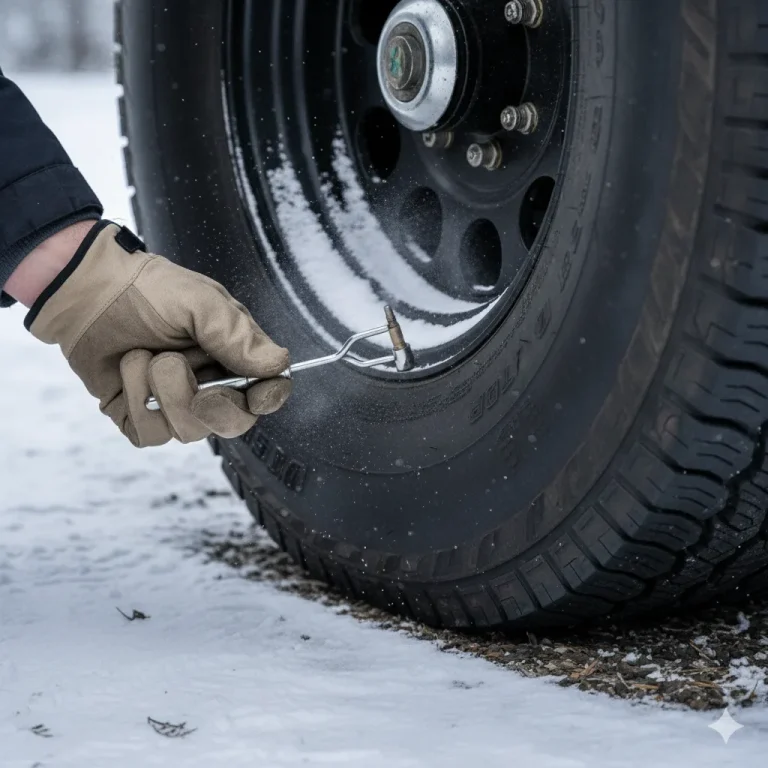
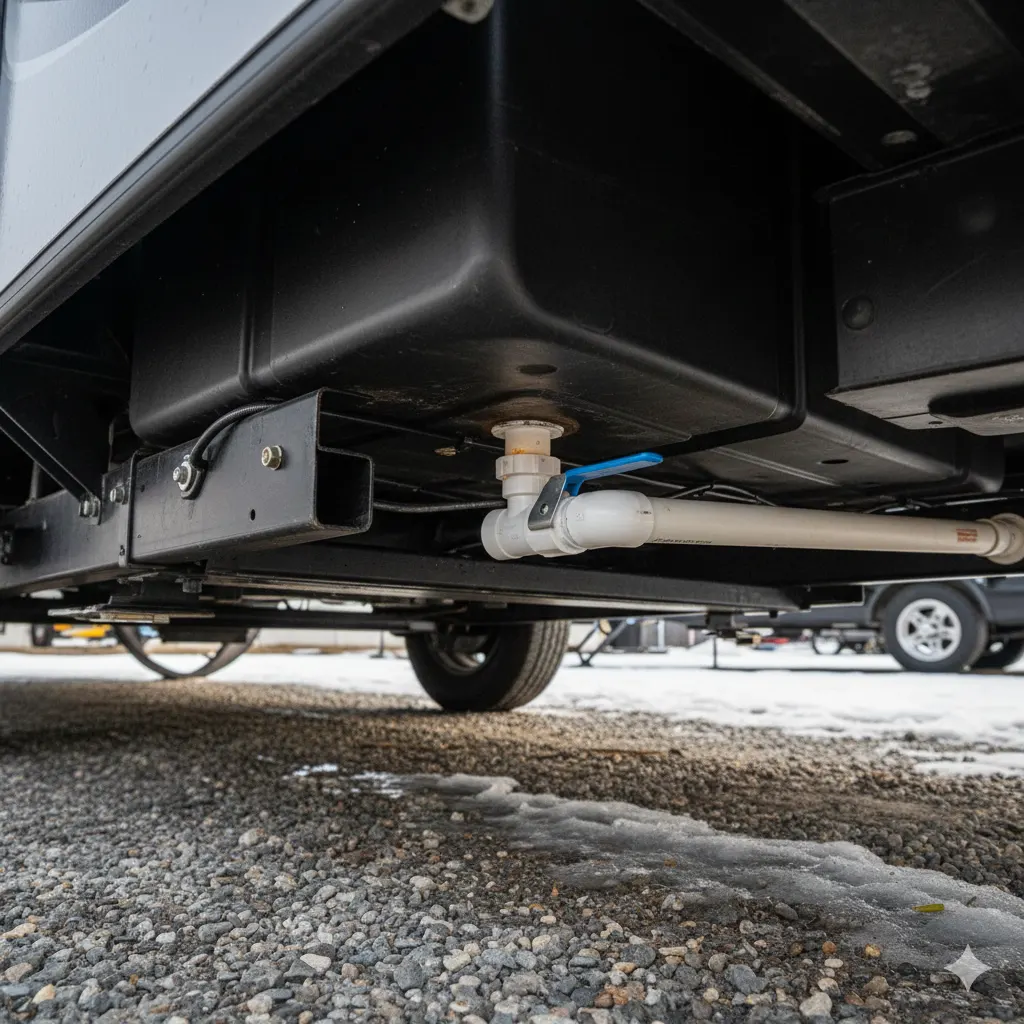
Step 2: Locate the Fresh Water Tank Drain Valve
The drain valve is usually:
- Underneath the RV
- Near the fresh water tank
- A small white or blue plastic valve
- Sometimes a simple pull plug
Use your flashlight to locate the valve. If unsure, check your owner’s manual.
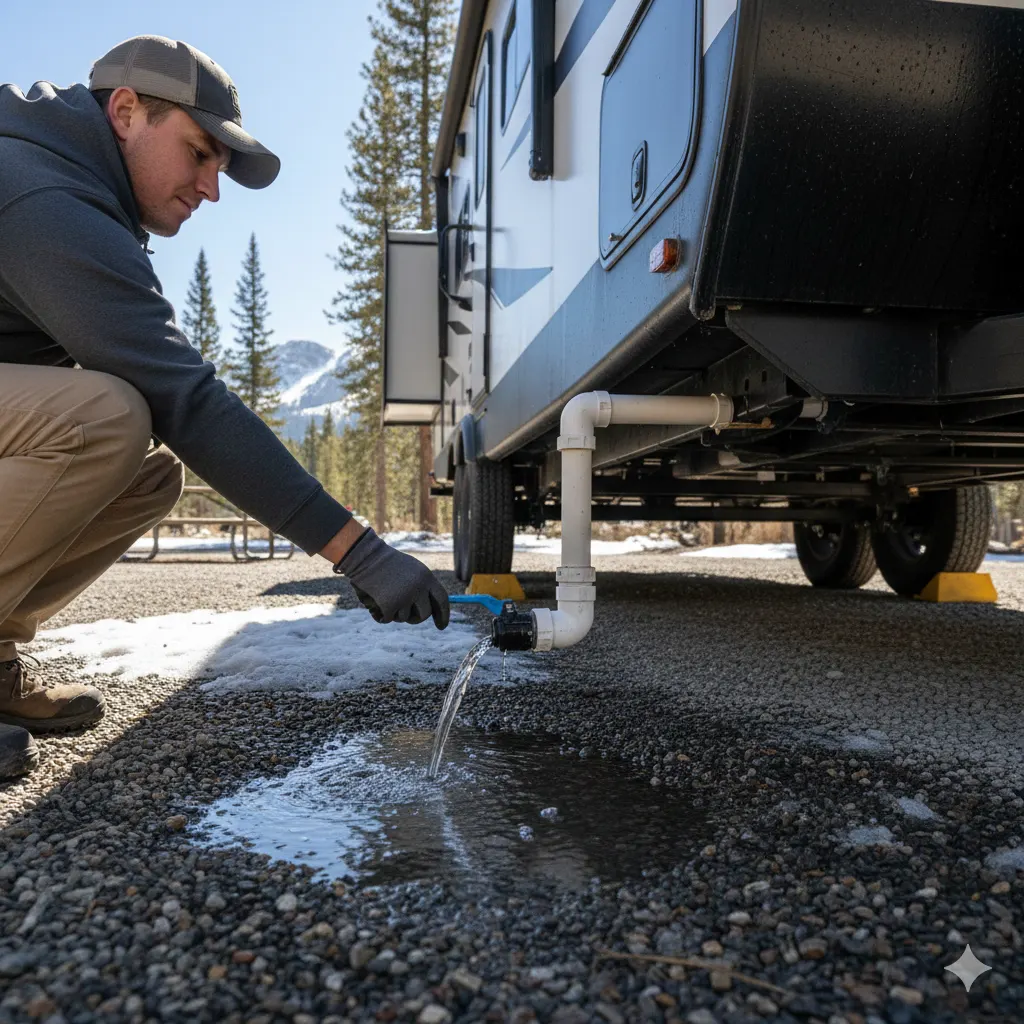
Step 3: Open the Drain Valve to Release Water
Place a bucket under the valve if desired. Then open the valve.
Water will begin flowing out quickly. Depending on tank size (20–100 gallons), draining may take several minutes.
Tip: Slightly opening a faucet inside the RV can help air enter the system and speed up draining.
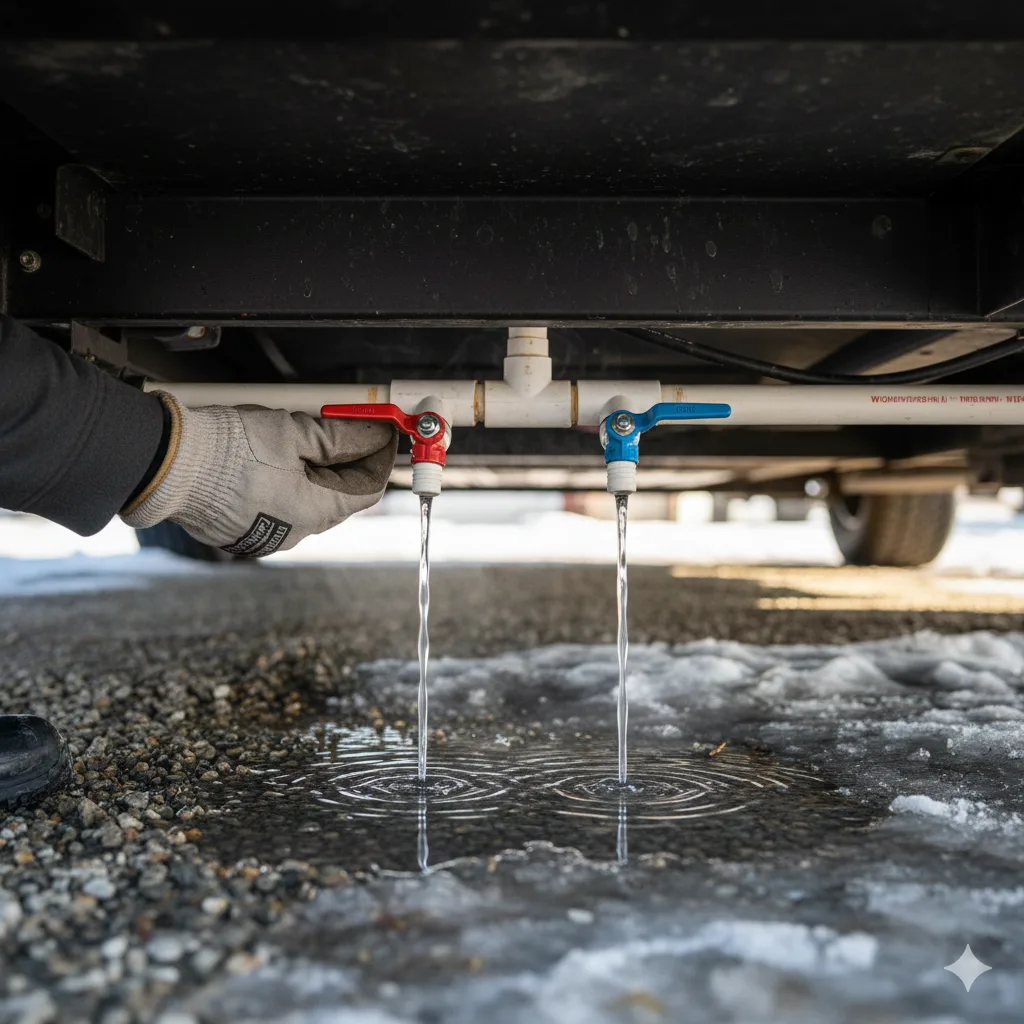
Step 4: Open Low-Point Drains (If Equipped)
Low-point drains help empty the remaining water in your RV’s plumbing lines. They are usually marked as:
- Hot water low-point drain
- Cold water low-point drain
Open both drains to fully clear the water lines.
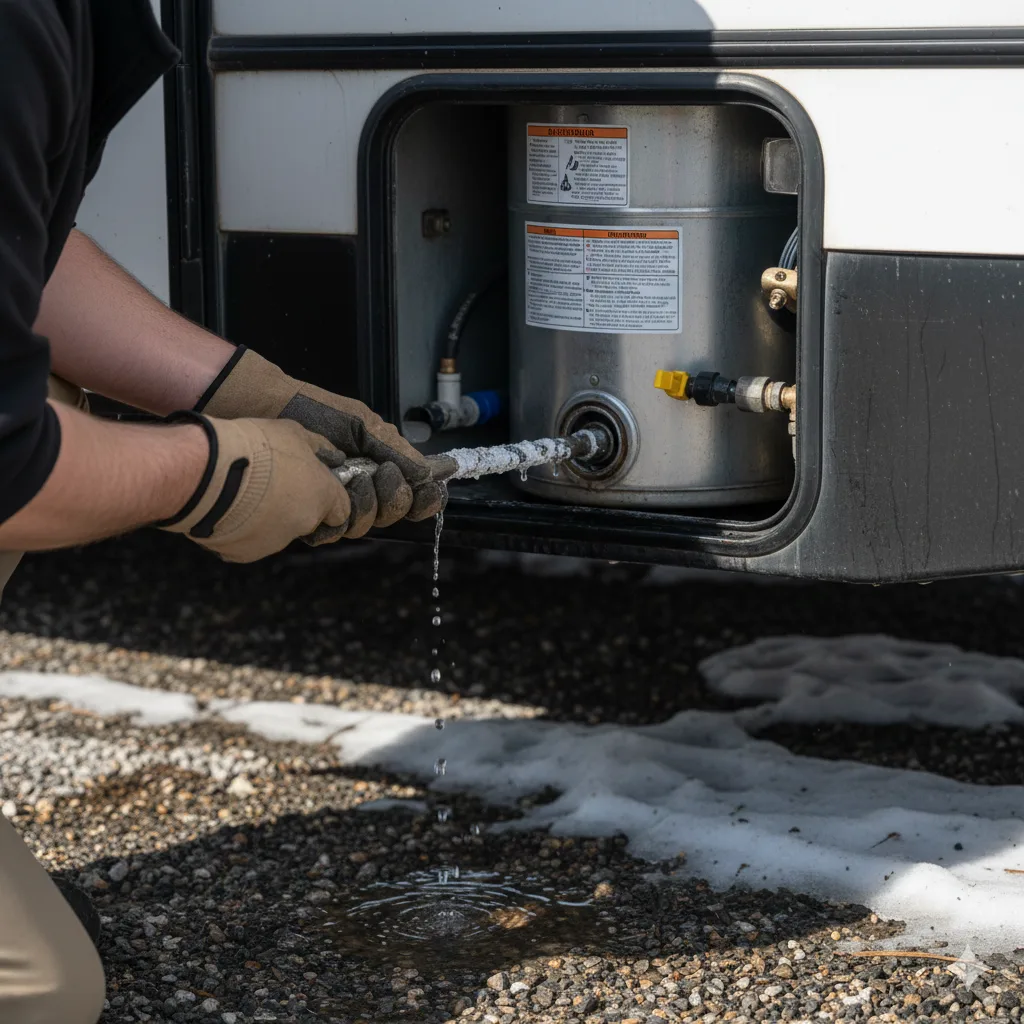
Step 5: Empty the Water Heater (Optional but Recommended)
If you are preparing for storage or winterizing, draining the water heater is essential.
Steps:
- Turn off the water heater.
- Let the heater cool completely.
- Remove the drain plug or anode rod.
- Allow water to fully empty.
This ensures your entire water system is clear and prevents freezing or corrosion.
4. How to Drain Water Faster
If you want to speed up the process while following how to drain RV fresh water tank safely, try these methods:
- Open all faucets briefly to introduce air into the system
- Park on a slight incline to help water flow toward the drain
- Remove the water heater plug before draining the main tank
- Use a hose to help flush out remaining sediment
Faster draining reduces standing water and helps clean out the tank.
5. Common Mistakes to Avoid
Even though how to drain RV fresh water tank is simple, many RVers make avoidable mistakes.
Avoid:
- Forgetting to turn off the water pump
- Draining water onto electrical components
- Leaving low-point drains open accidentally
- Not draining the water heater before winter storage
- Letting the fresh water tank sit partially full for months
- Failing to sanitize after draining
Taking a few extra minutes prevents costly damage.
6. Sanitizing Your RV After Draining
Draining is the first step; sanitizing is the second. Sanitizing removes odors, bacteria, and sediment.
Basic sanitizing process:
- Close all drains.
- Mix 1/4 cup household bleach per 15 gallons of tank capacity.
- Fill the tank with the mixture.
- Run faucets until you smell bleach.
- Let sit 4–12 hours.
- Drain and flush thoroughly with clean water.
This ensures your fresh water system remains safe for drinking and cleaning.
7. Frequently Asked Questions
How often should I drain my RV fresh water tank?
Drain it every time you return from a trip or if the water has been sitting for more than two weeks.
Can I leave water in the tank during storage?
No. Sitting water leads to bacteria, odors, and algae growth.
Does draining the tank remove all water?
Yes, when combined with low-point drains and water heater removal.
Should I drain the tank before winterizing?
Always. Water expands when frozen and can damage pipes and tanks.
8. Final Thoughts
Learning how to drain RV fresh water tank properly protects your system from contamination, improves water quality, and prevents damage during storage. By following the five proven steps in this guide, you can safely drain, clean, and maintain your RV’s entire water system with confidence.
Regular drainage and sanitizing ensure fresh, clean water every time you travel. With proper maintenance, your RV plumbing system will last longer and perform reliably in all conditions.