How to Measure Ice Thickness Safely: 5 Reliable Methods and Testing Devices
When winter arrives and lakes, ponds, and rivers freeze over, outdoor enthusiasts are eager to go ice fishing, skating, or snowmobiling. But before you set foot—or wheel—on frozen water, one question matters more than any other: how thick is the ice?
Knowing how to measure ice thickness safely can literally save your life. Ice that looks solid from the surface can vary in strength underneath, and thickness can change from one spot to another within just a few feet.
In this detailed guide, you’ll learn how to measure ice thickness accurately, the best tools for the job, and how to interpret your results to ensure safe winter fun.
1. Why Measuring Ice Thickness Matters
Every winter, accidents occur because people misjudge ice strength. The truth is, ice thickness doesn’t tell the whole story, but it’s the best first step to understanding whether an area is safe.
Factors that affect ice safety include:
- Temperature fluctuations (warm days and cold nights cause weak spots)
- Snow cover (insulates ice, slowing freezing)
- Water movement (currents or springs weaken ice from below)
- Objects or vegetation (absorb sunlight and melt surrounding ice)
Measuring ice thickness isn’t optional—it’s a safety essential.
2. Ice Thickness Safety Guidelines
Before you grab your auger or drill, it’s important to know what counts as “safe.” According to safety organizations like the U.S. Army Cold Regions Research and Engineering Laboratory, here’s a general guide:
| Ice Thickness | Activity | Safety Rating |
|---|---|---|
| 2 inches or less | Stay off | Unsafe |
| 4 inches | Ice fishing, walking | Safe for one person |
| 5–7 inches | Snowmobile or ATV | Generally safe |
| 8–12 inches | Small car or group | Caution required |
| 12–15 inches | Medium truck | Safer under ideal conditions |
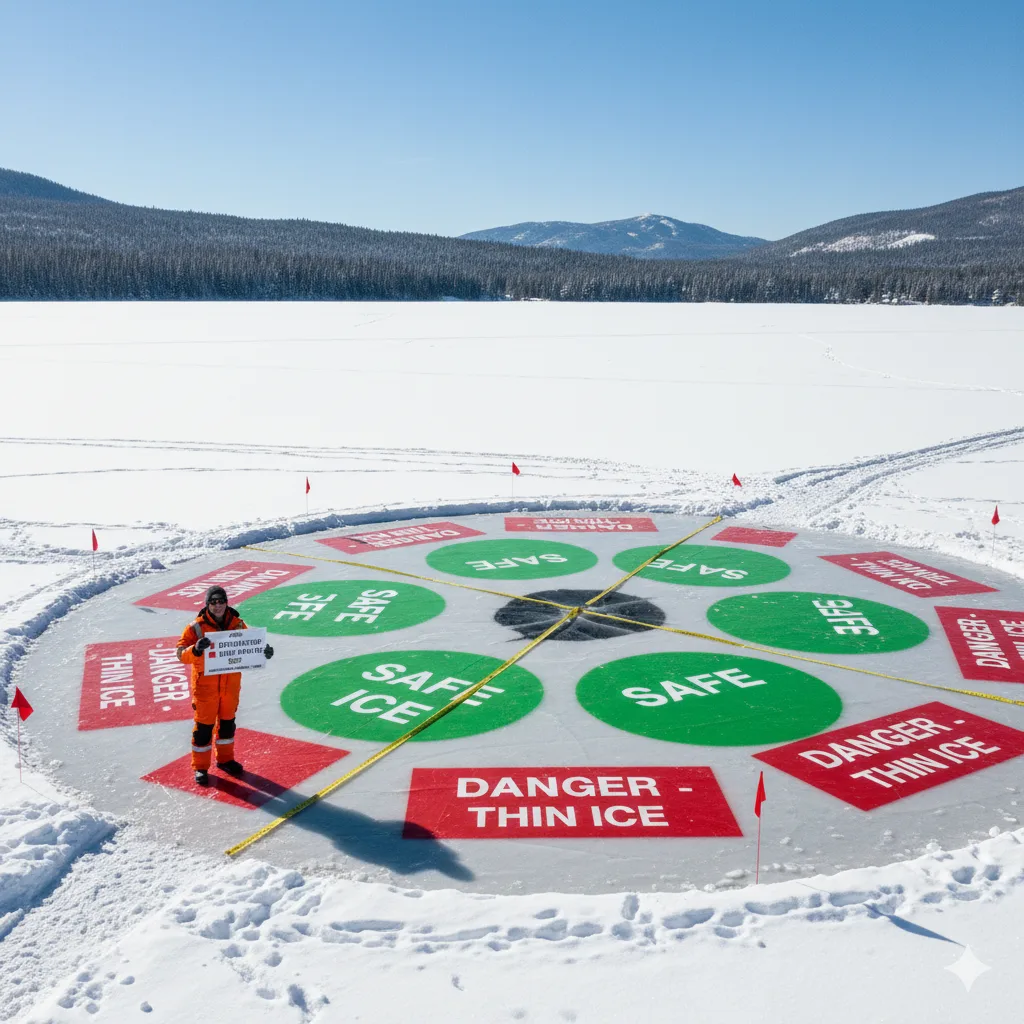
Always check ice at multiple points—thickness can vary dramatically across a single lake.
3. How to Measure Ice Thickness: 5 Reliable Methods
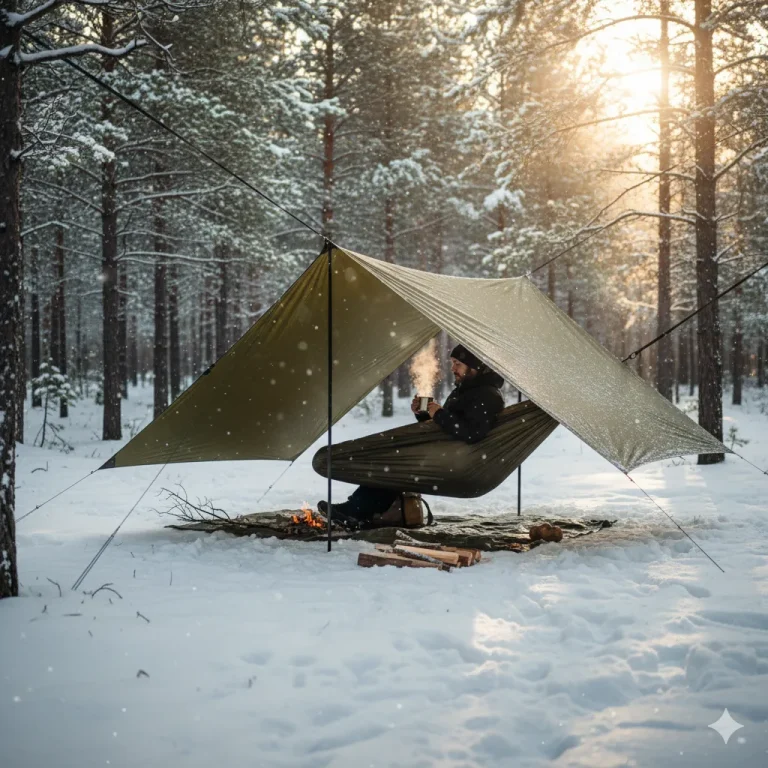
There are several effective ways to measure ice thickness. Whether you’re using simple hand tools or advanced electronic devices, safety comes first—never test ice alone or without wearing a flotation jacket.
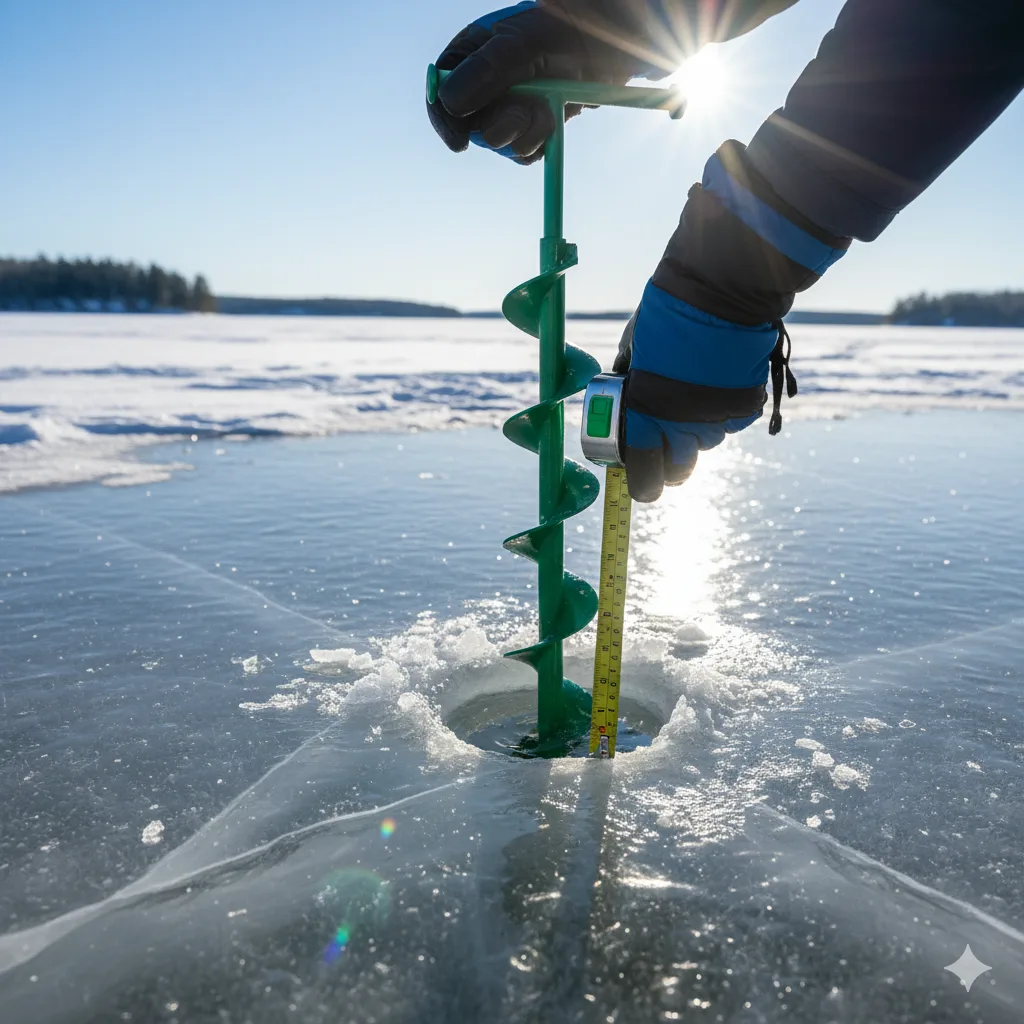
Method 1: Ice Auger (Manual or Power)
Best for: Ice anglers and outdoor professionals
An ice auger is the most traditional and reliable tool for measuring ice. Manual augers use a hand crank, while gas or electric versions cut faster through thicker layers.
Steps:
- Choose a safe area near the shore.
- Drill a hole straight through the ice.
- Insert a measuring tape or stick into the hole until it hits water.
- Mark where the ice surface meets the tool, then measure the distance.
Repeat this every 10–15 feet as you move out onto the ice.
Method 2: Cordless Drill with a Wood Bit
Best for: Quick, on-the-go testing
A cordless drill fitted with a long wood auger bit (at least ⅜ inch wide) can be an easy alternative for casual users.
Steps:
- Drill through the ice carefully until you reach water.
- Insert a small stick or screwdriver into the hole to measure depth.
- Record the ice thickness using a ruler or measuring tape.
This method is lightweight, fast, and ideal for checking multiple points efficiently.
Method 3: Ice Chisel (Spud Bar)
Best for: Early-season ice testing
An ice chisel or spud bar is a heavy, pointed metal rod used to chip through the ice manually. It’s especially useful when ice is still thin and you want to avoid carrying heavy equipment.
Steps:
- Strike the ice ahead of you as you move.
- Note how easily the chisel breaks through—solid, clear ice should resist several strikes.
- Once you penetrate, measure the thickness using a ruler or stick.
If the chisel goes through in one strike, the ice is too thin to support weight.
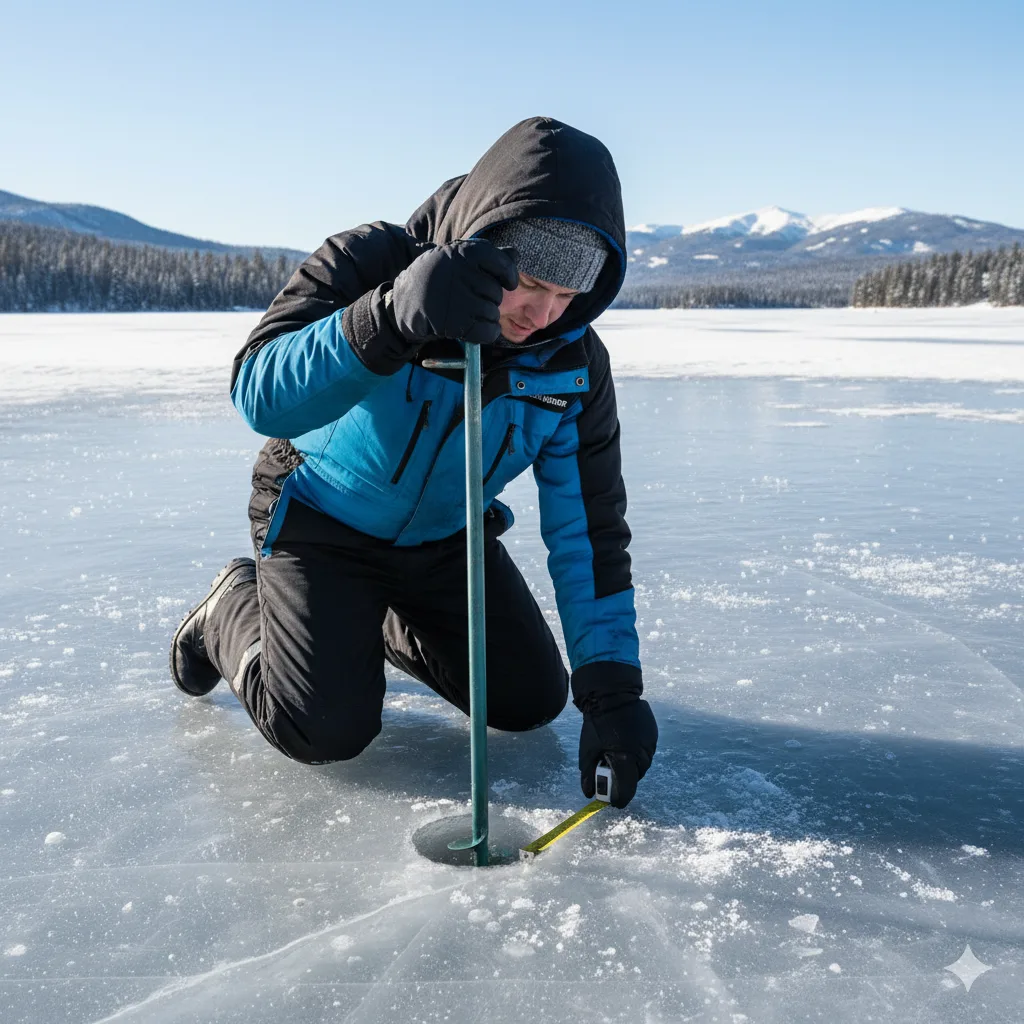
Method 4: Measuring Stick or Ice Gauge
Best for: Professionals, researchers, and frequent testers
Measuring sticks (also called ice gauges) are pre-marked poles with floating indicators designed for easy readings. Some even include digital displays.
Steps:
- Insert the gauge into a pre-drilled hole.
- Let the float rest against the underside of the ice.
- Read the scale to determine thickness instantly.
Many ice gauges can log multiple readings for data tracking, making them excellent for long-term monitoring.
Method 5: Electronic Ice Sonar or Ice Thickness Sensor
Best for: Advanced, high-tech measurement
Modern devices like ice sonar sensors or electronic ice thickness meters use sound waves or conductivity to determine ice depth without drilling.
Steps:
- Place the sensor directly on the ice surface.
- Activate the device to send ultrasonic pulses.
- Review the digital readout for accurate thickness measurements.
Though expensive, these tools are popular among safety organizations and researchers for their precision and speed.
4. Tips for Accurate and Safe Ice Measurement
Even the best tools won’t help if used incorrectly. Here are key safety and accuracy tips:
- Check near the shore first: Ice forms faster near land.
- Measure often: Ice thickness can change drastically, especially near inflows or structures.
- Avoid white or milky ice: Clear blue ice is stronger than cloudy ice.
- Bring a buddy: Never measure ice alone; accidents can happen suddenly.
- Carry safety gear: Ice picks, rope, and flotation vests can save your life in an emergency.
- Log your readings: Keeping records helps track seasonal safety trends.
5. Understanding Ice Quality vs. Thickness
Thickness alone doesn’t determine strength—ice quality matters too.

Good Ice (Strong)
- Clear or blue ice
- Forms slowly in cold, stable weather
- Contains few air bubbles
Bad Ice (Weak)
- White, slushy, or honeycombed appearance
- Contains air pockets
- Forms over moving water or near springs
Even 6 inches of poor-quality ice can be weaker than 3 inches of solid, clear ice.
Conclusion: Measure Smart, Stay Safe
Winter recreation on frozen lakes can be magical—but only when it’s done safely. Learning how to measure ice thickness using reliable tools and consistent methods is the best way to enjoy outdoor adventures without risk.
Remember: no ice is ever 100% safe, but with the right techniques, you can make informed, life-saving decisions before stepping out.
Whether you use an auger, drill, or sonar device, always measure multiple times, wear safety gear, and trust your instincts. The ice will always be there tomorrow—but safety must come first today.