How to Winterize Your RV Camper (16 Essential Step Checklist)
When cold weather approaches, it’s time to prepare your camper for freezing temperatures. Learning how to winterize your RV camper properly can save you thousands in potential repair costs — from burst pipes to cracked tanks.
Whether you’re storing your RV for the winter or planning to live in it during the cold season, a complete RV winterization checklist is crucial to protect your investment. In this guide, we’ll walk you through 16 essential steps to winterize your RV safely and efficiently.
Why Winterizing Your RV Matters
RV systems are particularly vulnerable to freezing. Any water left in your pipes, tanks, or faucets can expand and cause severe damage. Additionally, sealing and insulating your camper ensures it’s ready to handle sub-zero temperatures and moisture buildup.
Proper winterization prevents:
- Frozen or burst water lines
- Mold and mildew formation
- Propane and battery issues
- Costly spring repairs
Whether you’re storing your camper outdoors or using it year-round, these steps will ensure it stays in peak condition until the thaw.
1. Drain the Freshwater Tank
Begin by draining your freshwater tank completely. Open the drain valve and allow all water to flow out. Any leftover moisture can freeze and damage the tank or connecting lines.
Tip: Use your water pump briefly to push out the last remaining water, but don’t let it run dry for too long.
2. Drain and Flush the Water Heater
Turn off your water heater and allow it to cool before draining. Remove the drain plug and open the pressure relief valve. Once emptied, flush it with fresh water to clear out any sediment.
Pro Tip: Never add antifreeze directly to your water heater. Bypass it in later steps to prevent contamination.
3. Empty the Gray and Black Tanks
Visit an approved dump station to fully empty both waste tanks. Rinse them thoroughly with a tank wand or flush system. Leaving waste inside during winter can create odors and corrosion.
After cleaning, pour a small amount of RV antifreeze (not automotive) into each tank to protect seals and valves.
4. Bypass the Water Heater
Install a water heater bypass kit if your RV doesn’t already have one. This allows antifreeze to circulate through your plumbing without entering the heater itself, saving several gallons of product.
5. Blow Out the Water Lines (Optional Method)
Some RV owners prefer to blow out the water lines with compressed air instead of antifreeze. To do this:
- Connect an air compressor (set to 30–40 PSI) to the city water inlet.
- Open each faucet and drain line one by one until only air comes out.
If you’re camping in extremely cold regions, use RV antifreeze in addition to air for maximum protection.
6. Add RV Antifreeze to the Water System
This is the most critical step in the winterization process. Use non-toxic RV antifreeze (propylene glycol) only.
Step-by-step:
- Close all drains and valves.
- Place a hose from your winterizing kit into the antifreeze bottle.
- Turn on the water pump.
- Open each faucet (hot and cold) until pink fluid appears.
- Flush the toilet until antifreeze flows.
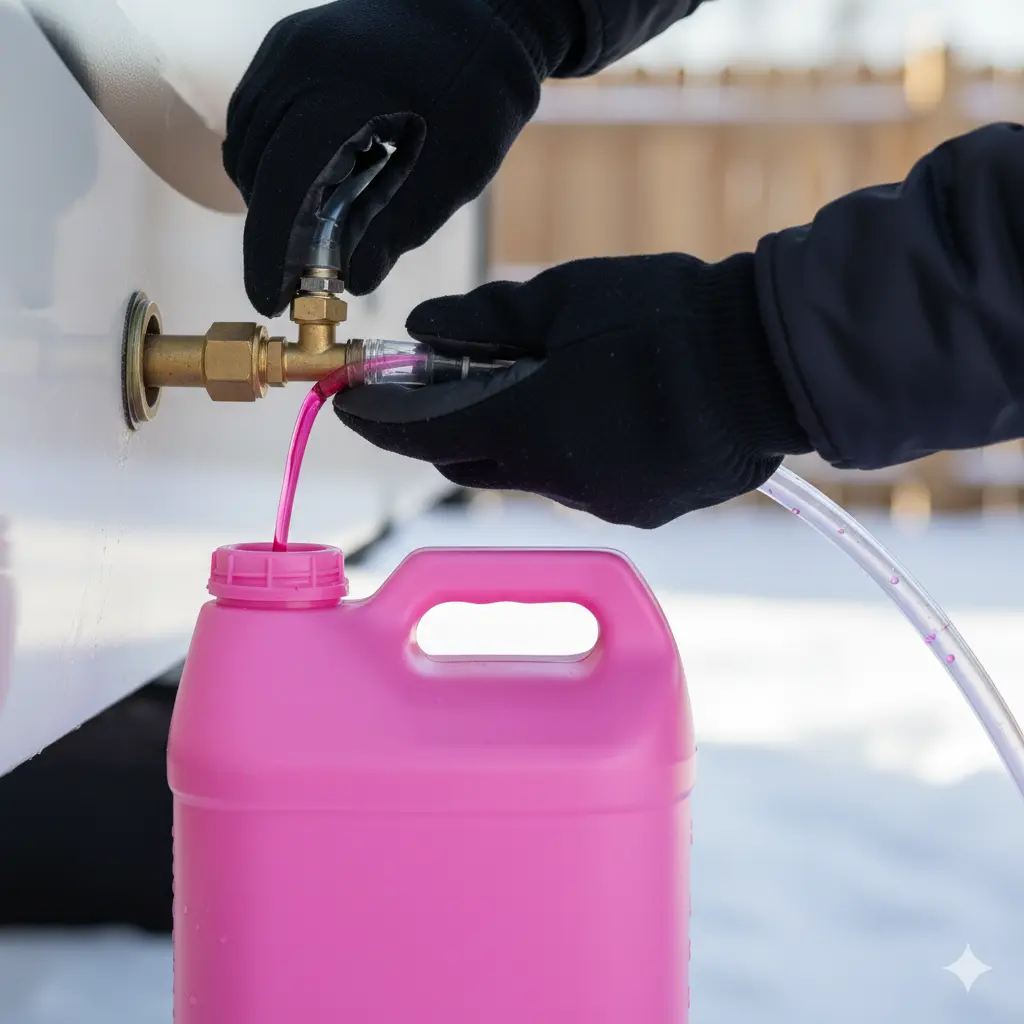
This ensures the entire system is protected from freezing.
7. Don’t Forget the Exterior Showers and Valves
Many campers overlook outdoor shower units and low-point drains. Open and run antifreeze through these as well.
Bonus Tip: Pour a small amount of antifreeze into every sink and shower drain to protect the P-traps.
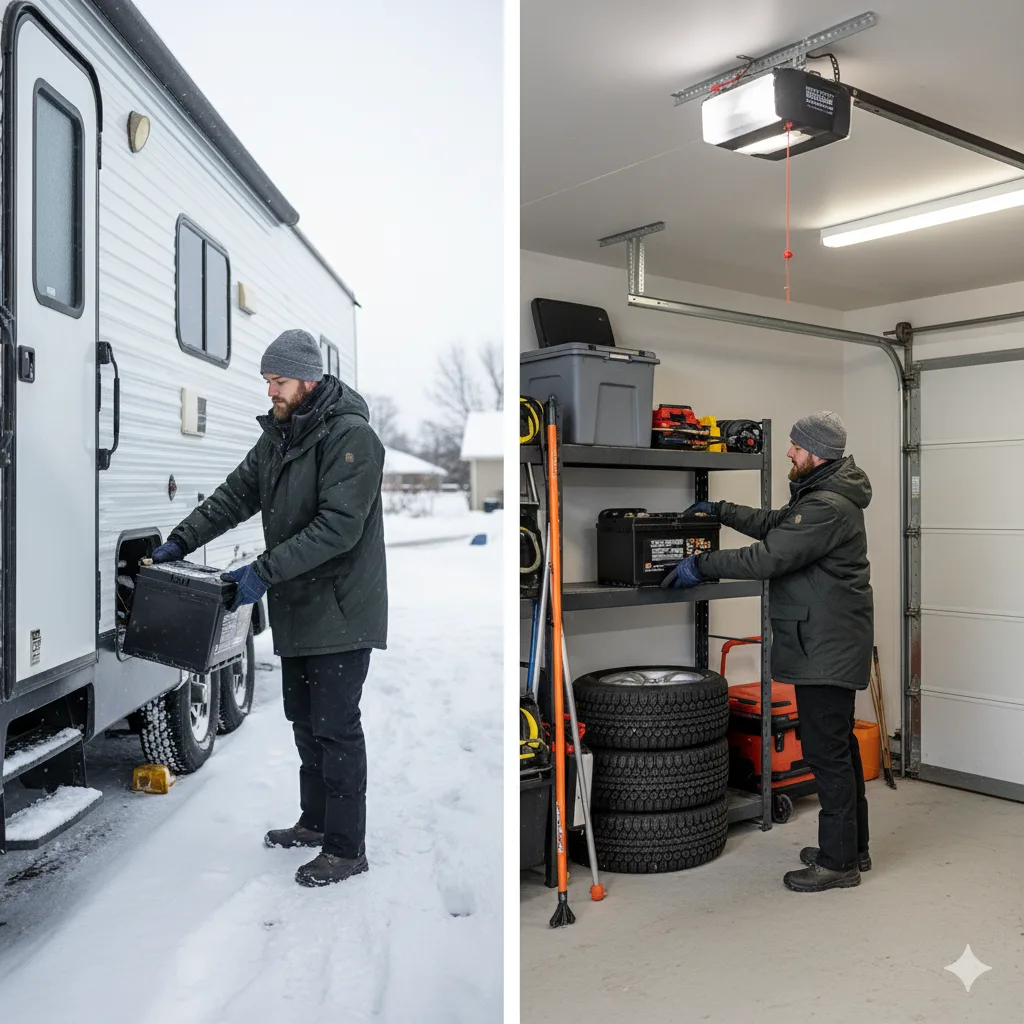
8. Protect the Batteries
Cold weather can drain RV batteries quickly. If storing your camper:
- Disconnect and remove batteries.
- Store them in a warm, dry place.
- Recharge every 4–6 weeks to maintain lifespan.
If full-timing, keep batteries connected but ensure your converter or solar charger maintains a steady charge.
9. Clean and Defrost the Refrigerator
Empty the fridge and freezer completely, defrost them, and leave the doors slightly open to prevent mold and odor buildup. Wipe down surfaces with a mild cleaner or vinegar solution.
10. Seal All Exterior Openings
Inspect every vent, window, and door for cracks or gaps. Use weatherstripping or RV sealant to keep cold air and moisture out.
Also, place steel wool or mesh covers in exhaust pipes to keep rodents from nesting inside during storage.
11. Cover Roof Vents and Windows
Use vent cushions or thermal covers to keep heat inside and prevent condensation. Adding reflective window insulation also helps regulate temperature.
12. Protect the Tires
RV tires can deteriorate when sitting in cold weather. Inflate them to the recommended PSI and use tire covers to block UV rays. If possible, park your RV on wood planks rather than bare ground to avoid moisture absorption.
13. Lubricate Seals and Hinges
Cold weather can cause rubber seals to crack and metal parts to stiffen. Apply a silicone-based lubricant to:
- Door and window seals
- Slide-outs
- Hitch components
- Locks and latches
This ensures smooth operation when you’re ready to hit the road again.
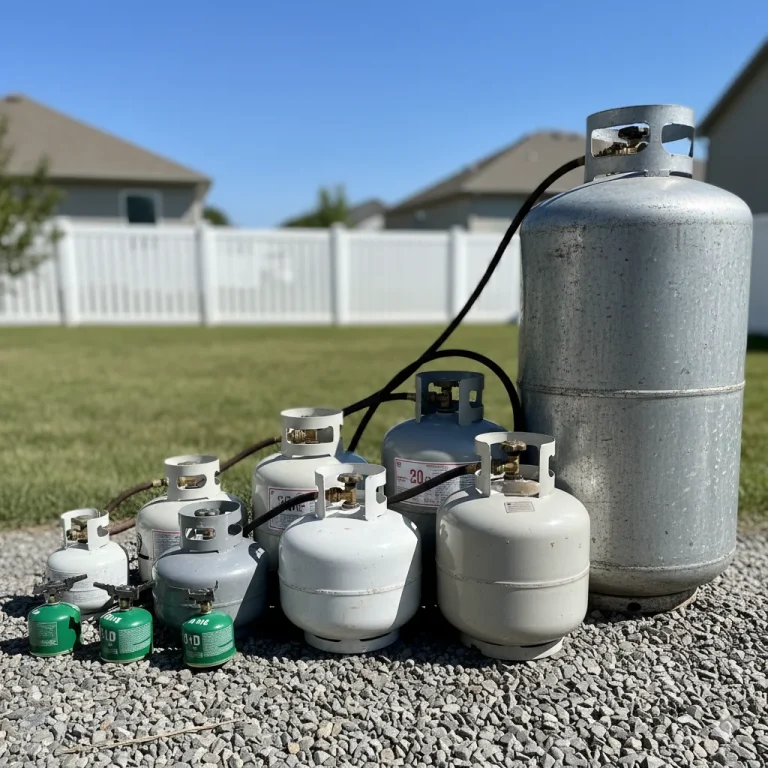
14. Check and Fill Propane Tanks
If you plan to camp through the winter, make sure your propane tanks are full. Keep them covered and inspect hoses for leaks or wear.
For stored RVs, close the valves and disconnect the regulator to prevent corrosion.
15. Clean the Interior Thoroughly
Before storing, deep-clean your camper to prevent odors and pests:
- Vacuum carpets and wipe all surfaces.
- Remove all food and perishables.
- Leave moisture absorbers inside to prevent dampness.
A clean RV will be fresh and ready when you return in spring.
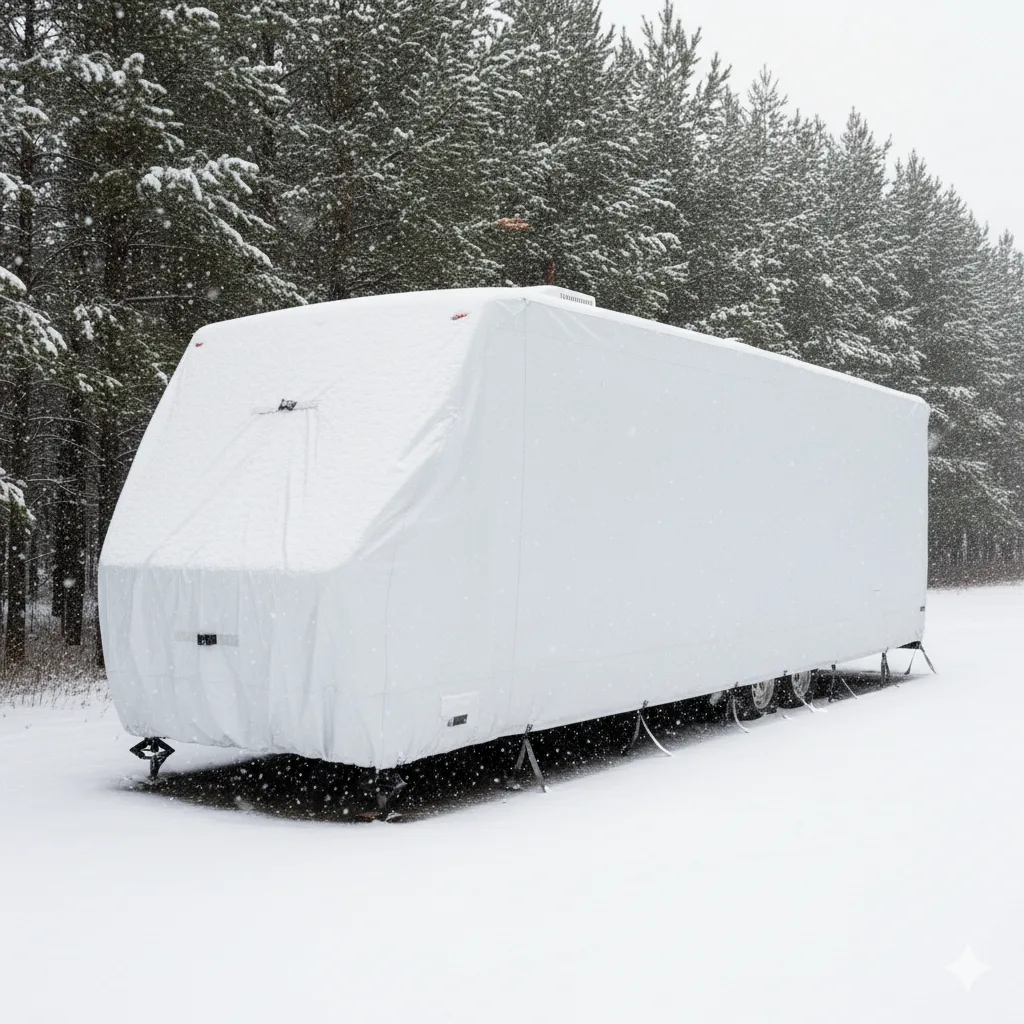
16. Use an RV Cover or Indoor Storage
Finally, protect your RV from snow, ice, and UV damage by covering it with a breathable RV cover. Avoid plastic tarps that trap moisture.
If you have access to indoor storage, that’s the ideal option for long-term protection.
Final Thoughts
Learning how to winterize your RV camper properly ensures peace of mind throughout the cold season. With these 16 essential steps, you’ll protect your plumbing, preserve your systems, and avoid costly repairs.
Whether you’re an occasional traveler or a full-time RVer, taking time to prepare your rig for winter means you’ll be ready to roll again as soon as spring arrives.